Related Links
Use IDrive® e2 to store your Comet backups
Comet Backup provides disaster recovery and business continuity for MSPs and IT providers. It supports Windows, MacOS, and Linux platforms and provides solutions to protect and restore partitions, databases, servers, files and folders.
Prerequisites:
Before storing your Comet backups, you require:
- An active IDrive® e2 account. Sign up here if you do not have one.
- A bucket in IDrive® e2. See how to create a bucket.
- Valid Access Key ID and Secret Access Key. Learn how to create an access key.
Connect IDrive® e2 storage with Comet
- Login to Comet Server console and add IDrive® e2 storage under Description.
- Under Connection, select IDrive® e2 as type.
- Enter Access Key and Secret Key obtained from IDrive® e2.
- Test the connection and click Save.

- Launch the Comet Backup Client and in the Backup tab click + Add Protected Item.
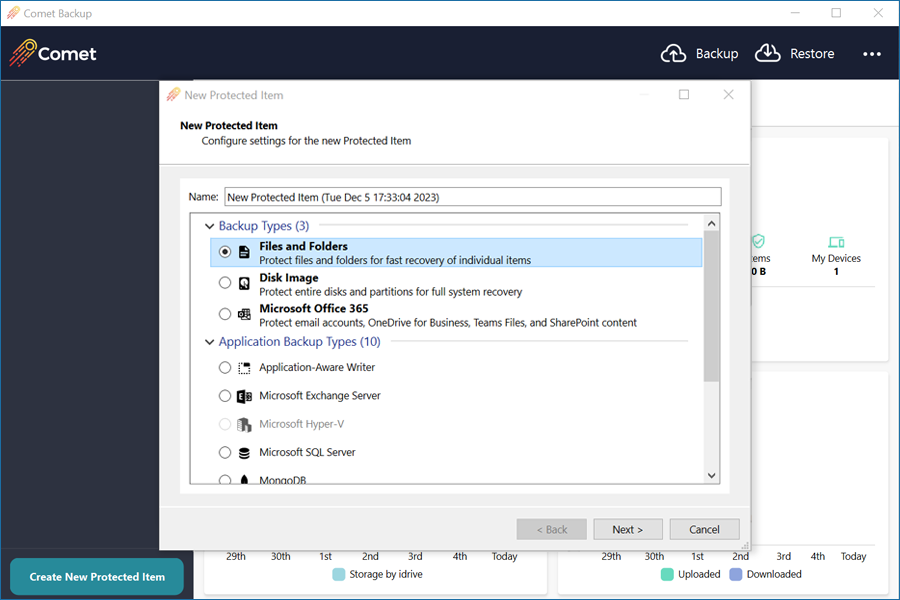
- In the New Protected Item window, enter a name for your Protected Item.
- Select the type of backup according to the protected item and click Next.
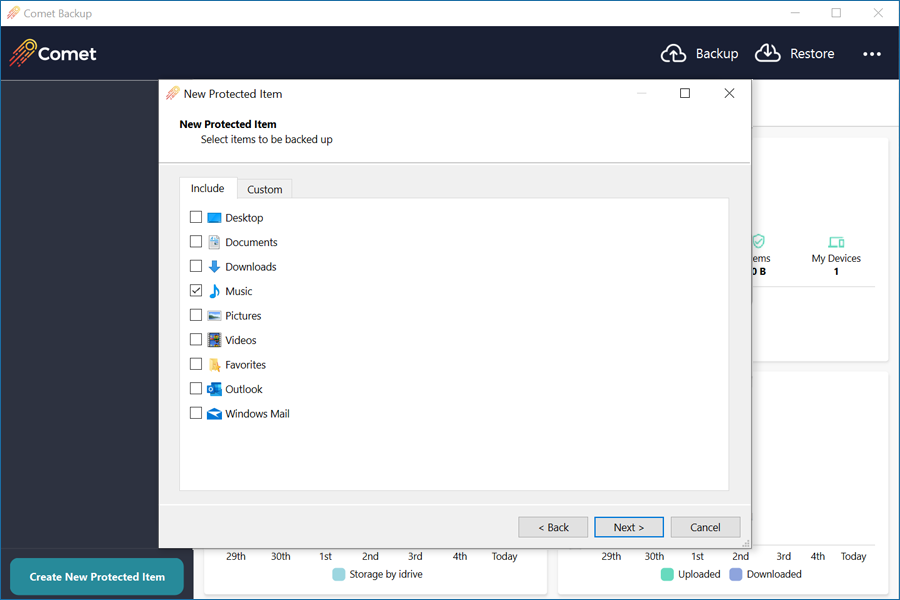
- For Files and Folders backup type, you can specify a main folder or create a custom path to a specific sub-folder or file.
- In the next screen, add your Storage Vault. Click + and select IDrive® e2 storage under Storage Vault.
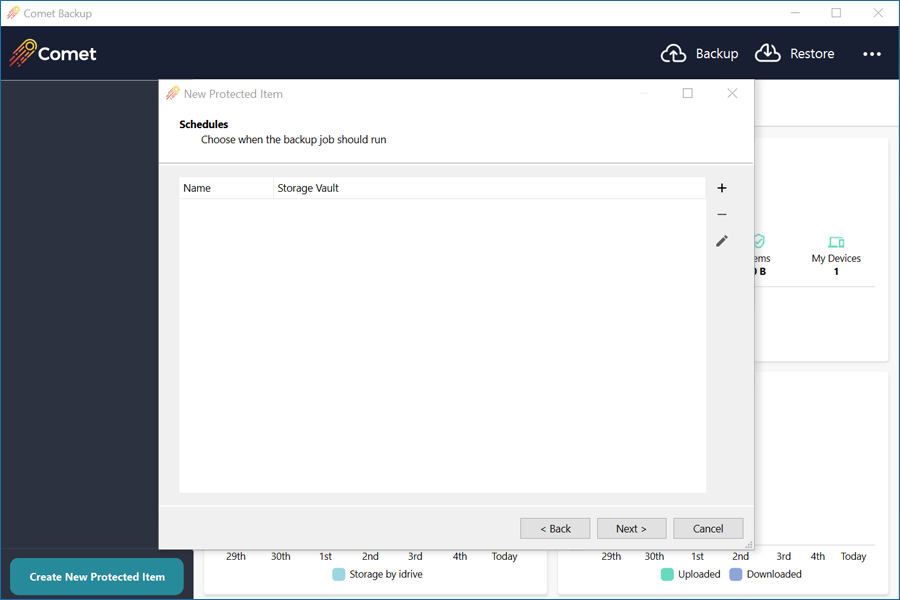
- Create a Backup Time Schedule and click Next.

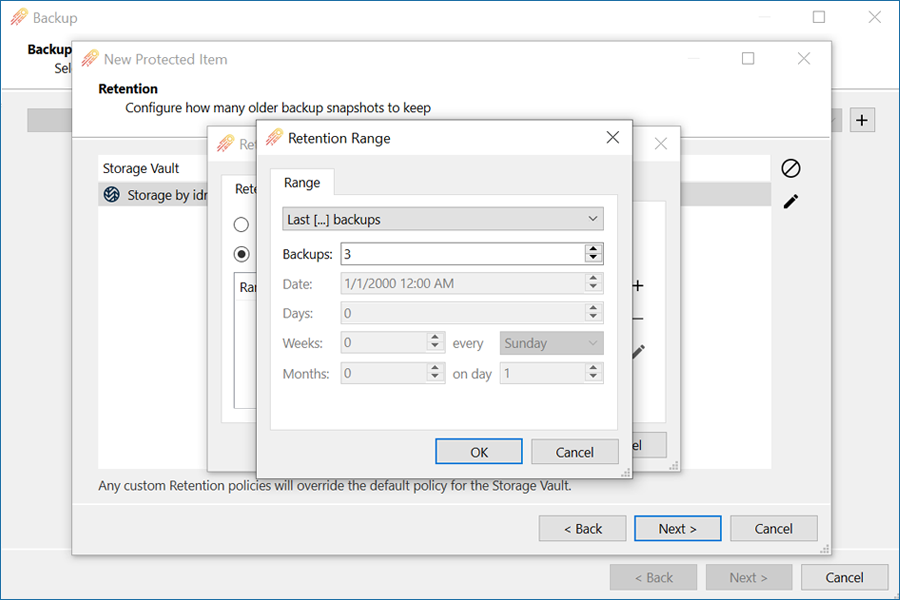
- In the Retention screen, set the retention policy based on your needs and click Next.
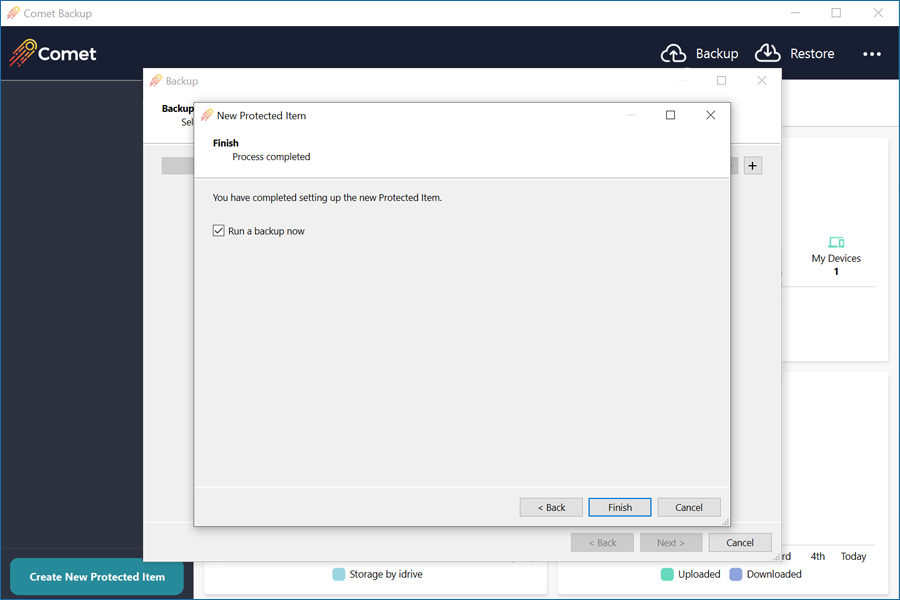
- In the Finish screen you can select the option to run the backup immediately and click Finish.
- Once the backup job is running you will see a progress bar initialize and then change to completed successfully.
Note: Data restoration is handled by your specific backup solution provider and is affected by multiple variables that are unique to your environment. For application-related enquiries/support, it is strongly recommended you seek guidance from the technical team of your backup solution provider.