Get started
To get started with IDrive® Google Workspace Backup,
- Sign in to your IDrive account.
- Enter the encryption key set by you during your first login.
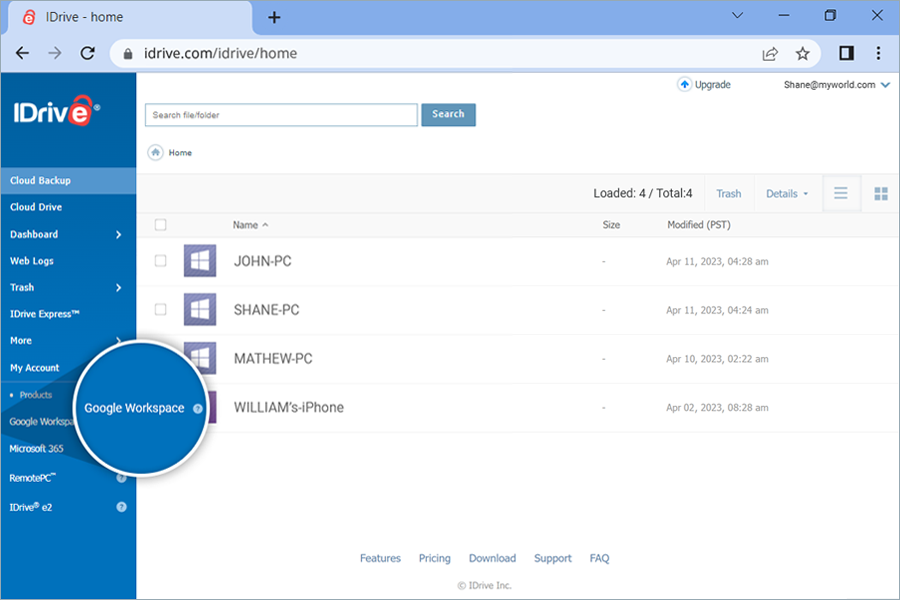
- Click Google Workspace.
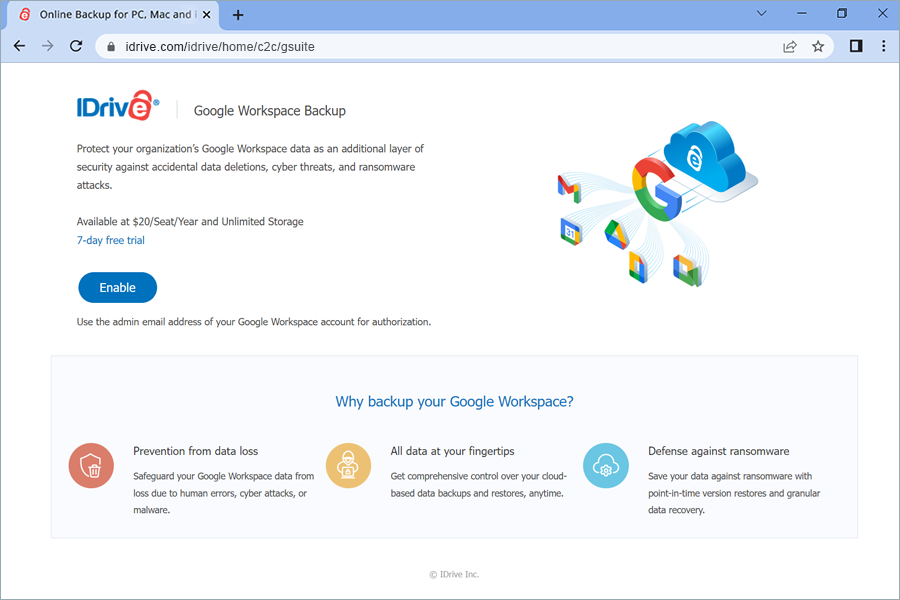
- Click Enable.
- Enter the email address of the Super Administrator of the Google Workspace account that you want to backup.
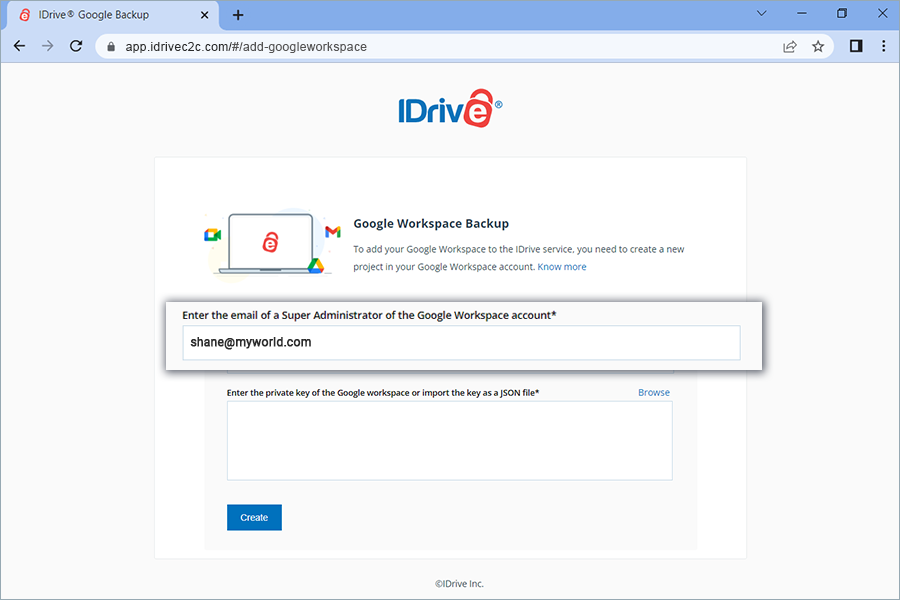
- Enter the private key of the Google Workspace account or import the key as a JSON file. Refer this guide to know how to obtain the private key as a JSON file.
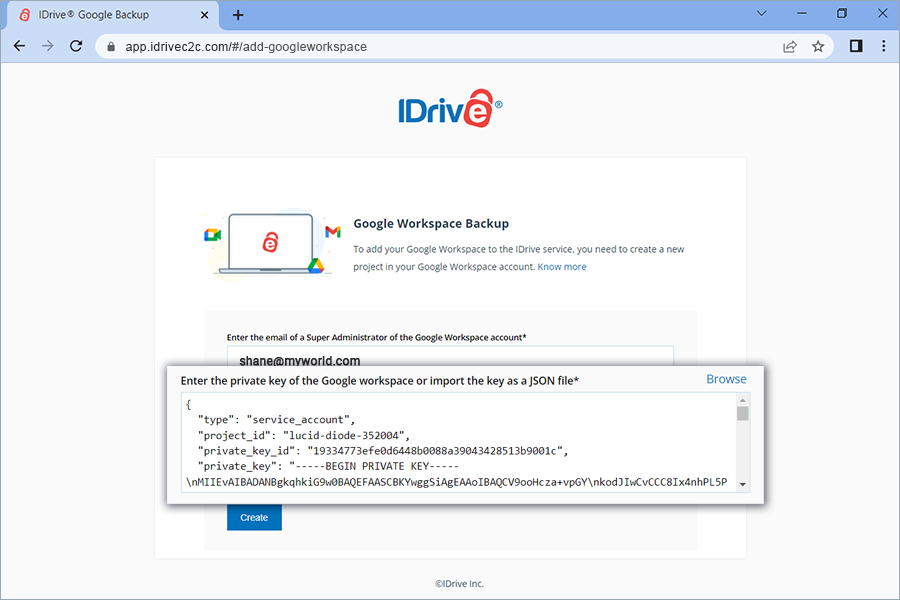
- Click Create.
Once authorized, you will be redirected to the dashboard of your IDrive® Google Workspace Backup account.
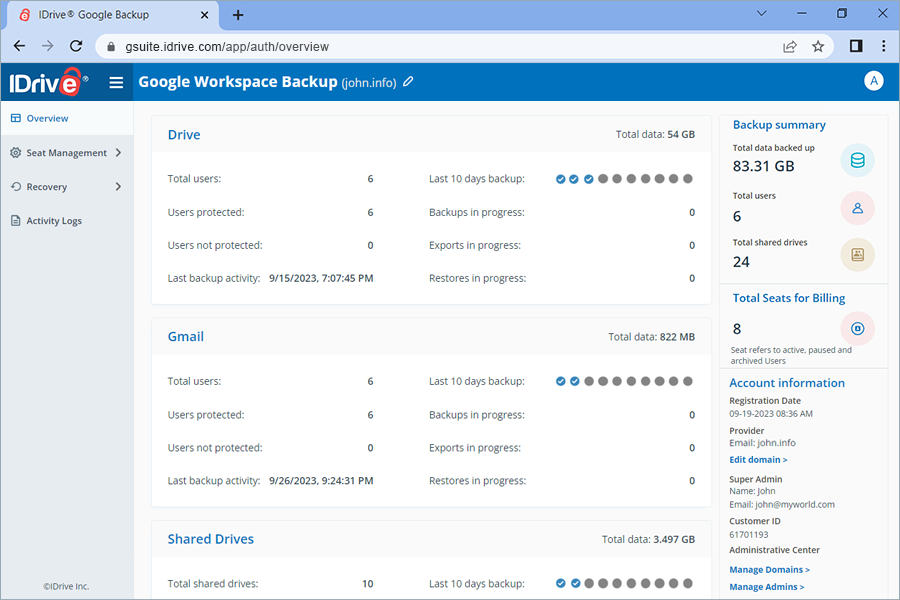
Your Google Workspace will be automatically synced with IDrive® Google Workspace Backup application for backup, and the user data will be displayed on the screen. You can now manage backups, exports, and restores for all the users and shared drives in your Google Workspace account from the web console.
Run backup for a Google Workspace user
To perform backup for any specific user,
- Go to the Recovery tab on your IDrive® Google Workspace backup dashboard.
- Select the required application from which you want to backup data for the user:
- Drive - To backup the user’s drive data.
- Gmail - To backup the user’s mail, contacts, and calendar data.
- Shared Drives - To backup the user’s shared drive data.
- Calendar - To backup the user’s calendar schedules and events.
- Contacts - To backup the user’s contact cards.
- Click the user account or shared drive for which you want to backup data.
- Select the files or folder that you want to backup by clicking the checkbox against the files/folders.
- Click Backup now.
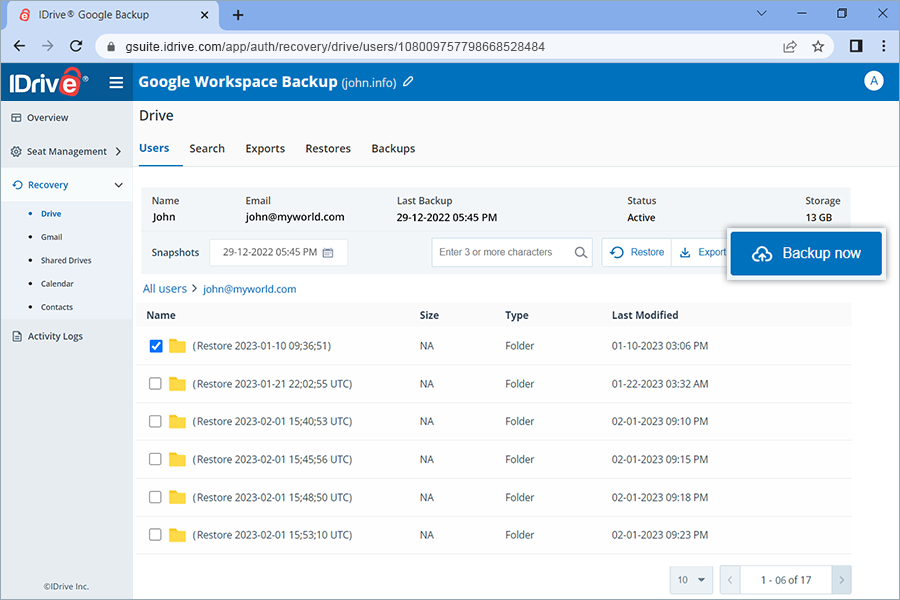
The backup progress will be displayed in real time. The backup details can be viewed under Backups.
Note: Running a manual backup does not affect the auto-scheduled backups.
Restore backed-up Google Workspace user data
To restore the backed-up Google Workspace data of a user,
- Go to the Recovery tab on your IDrive® Google Workspace backup dashboard.
- Select the required application from which you want to restore data.
- Click the user account or shared drive from which you want to restore data.
- Select the appropriate recovery point under Snapshots if you want to perform a point-in-time restore. To restore a specific file or folder, select the item from the list of backed-up items. You can also search for a specific file or folder.
- Click Restore. A popup window will appear.
- Select Snapshot or Selected Items as required.
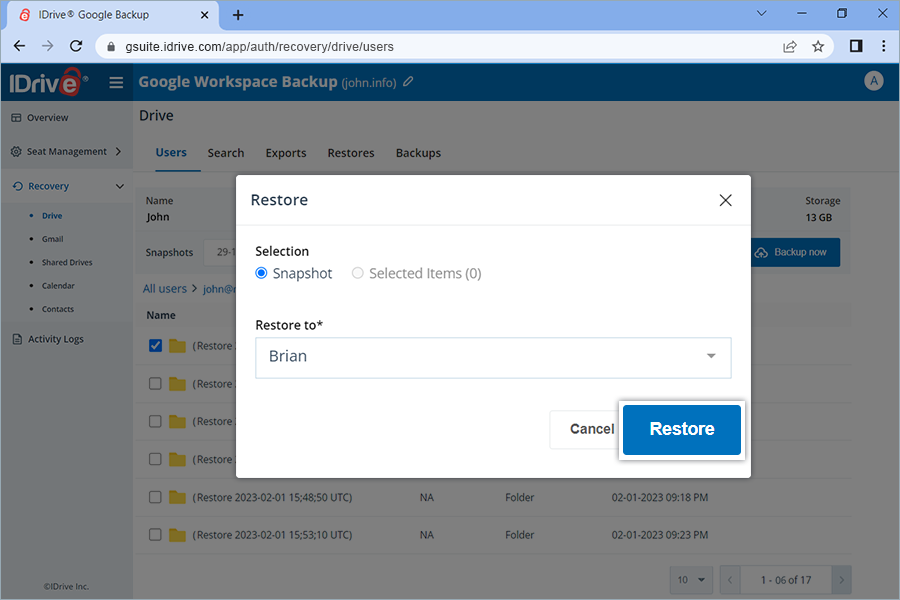
- Select the user account from the Restore to drop-down menu to which you want to restore the snapshot or the selected item. You can restore the data to the same user account, or a different user account.
- Click Restore.
The restore progress will be displayed on the screen in real time.
Access user management tools
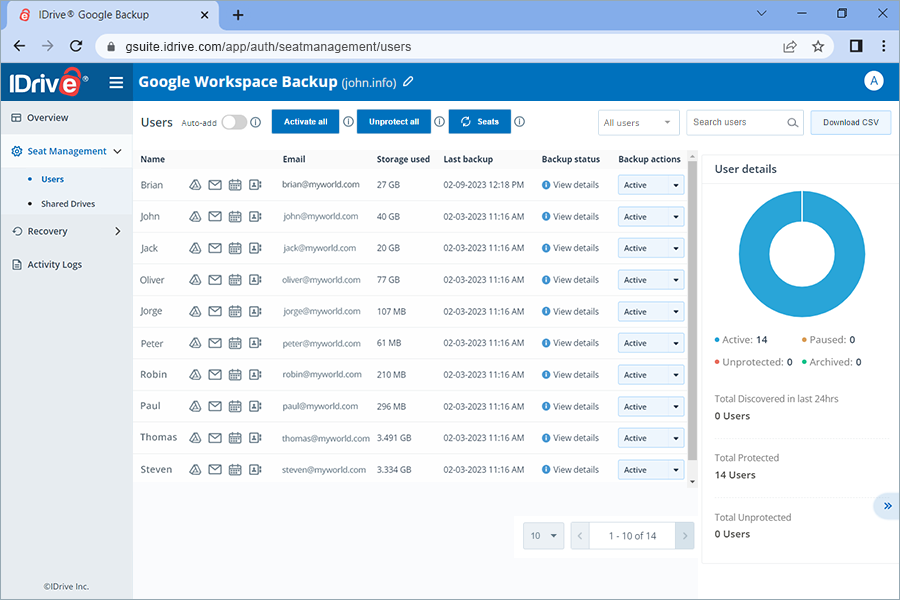
You can access records of all the users under the Seat Management tab in your IDrive® Google Workspace Backup web console, regardless of their backup status.
Navigate to the Users or Shared Drives tab under Seat Management to access the following management tools:
- Auto-add: Discovers and automatically syncs all the new users/shared drives added to your Google Workspace account.
- Activate all users/Activate all: Activate backup for all unprotected users and shared drives.
- Filter users/shared drives: Filter records of users or shared drives according to their backup status — active, paused, unprotected.
- Search users/shared drives: Look up specific users and shared drives among the records.
- Download CSV: Download a list of all the selected users and shared drives in CSV format.
- Restore/ Export backed up data: Restore/export backed-up data for users by clicking


 Click
Click  to restore/export backup-data for shared drives.
 - Backup status: Hover over View details to view the summary of backup status, or click the button to view a detailed backup status summary.
- Backup actions: Pause, add or remove users and shared drives from backup set. For details, refer How do I change seat status for users and shared drives?
