e2 Appliance
|
If your question is not addressed below, contact us through our support form and we will get back to you shortly. |
|
| What is an IDrive® e2 appliance? | |
| How do I order an IDrive® e2 appliance? | |
| How do I track my e2 appliance order status? | |
| How do I monitor the health of my IDrive® e2 appliance? | |
| How do I rename my IDrive® e2 appliance? | |
| Can I add a description to identify an IDrive® e2 appliance? | |
| How do I assign a local IP address to my IDrive® e2 appliance? | |
IDrive® e2 provides an on-premises object storage solution that radically simplifies the ability to manage, store, and protect data. The appliance, or Software-defined Storage (SDS), allows S3/HTTP access to any application, device, or end user. When used in On-Premise, Private Cloud, and Hybrid Cloud environments, the appliance ensures the rapidly scaling datasets are continuously protected and instantly accessible. It eliminates tedious storage management and reduces the Total Cost of Ownership (TCO).
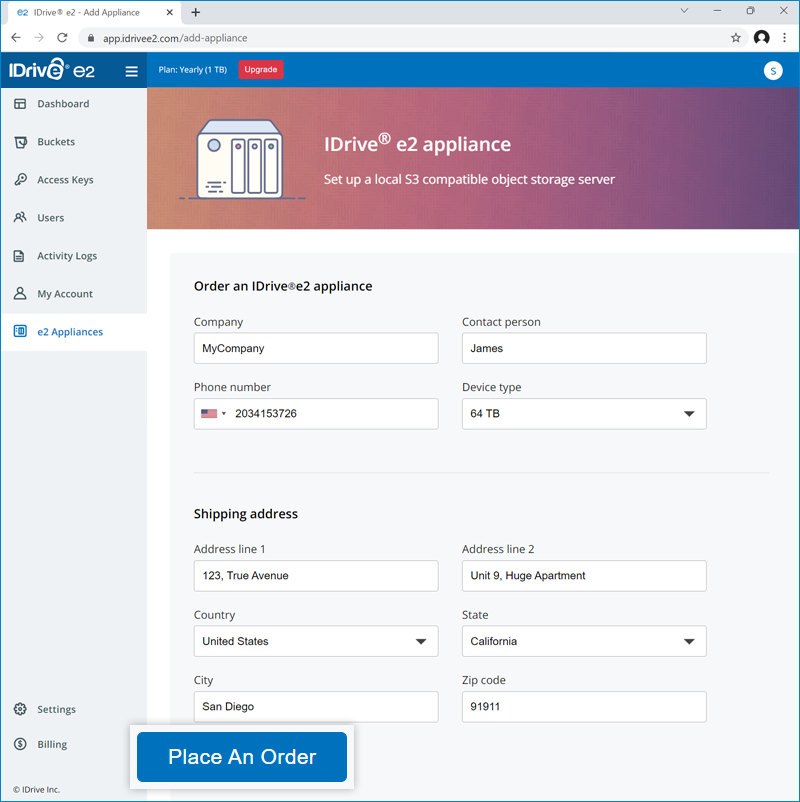
To order an on-premise IDrive® e2 appliance,
- Sign in to IDrive® e2 account via any browser.
- Go to e2 Appliances.
- Enter your contact information and shipping address.
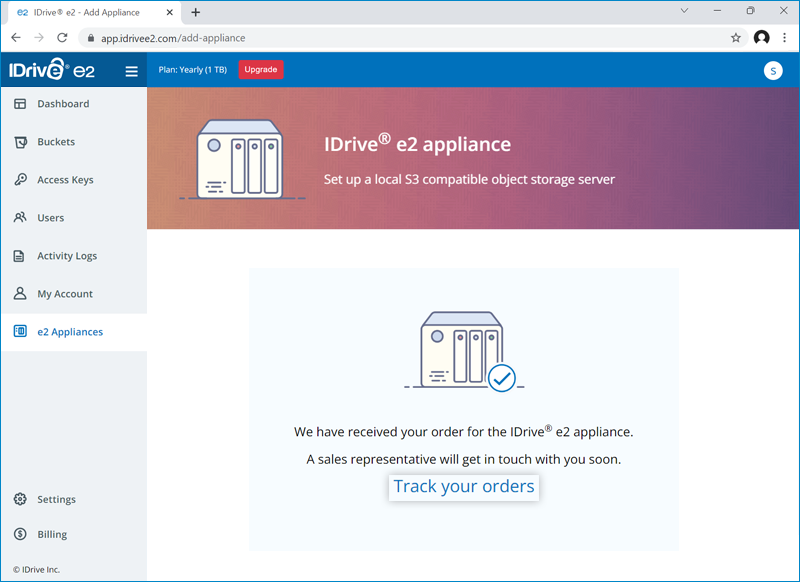
- Click Place An Order. You will receive an email confirmation for your order and a sales representative will get in touch within a few days.
- Click Track your orders to view your orders. The page will display all the orders along with details such as order ID, status, carrier, tracking ID, etc.
 Click
Click
 to view contact and shipping details of the order.
To view the order ID of your IDrive e2 appliance,
- Sign in to IDrive® e2 account via any browser.
- Go to e2 Appliances.
- Click Track your orders to view your orders. The page will display all the orders along with details such as order ID, status, carrier, tracking ID, etc.
- Click to view contact and shipping details of the order.
You can track the status of all your IDrive® e2 appliance orders on the e2 Appliances tab.
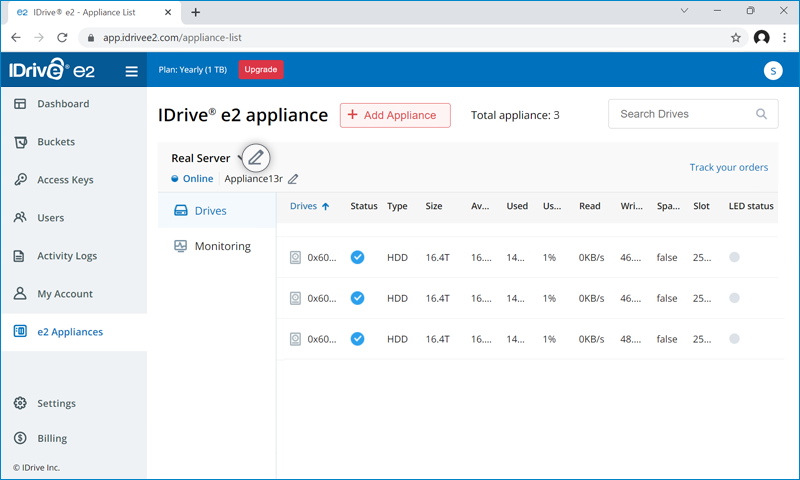
To monitor the drives of your IDrive® e2 appliance,
- Sign in to IDrive® e2 account via any browser.
- Go to e2 Appliances.
- Select the required appliance from the LHS dropdown at the top.
All the drives of the appliance will be displayed with details such as drive type, storage size/availability, read-write speeds, usage, etc.
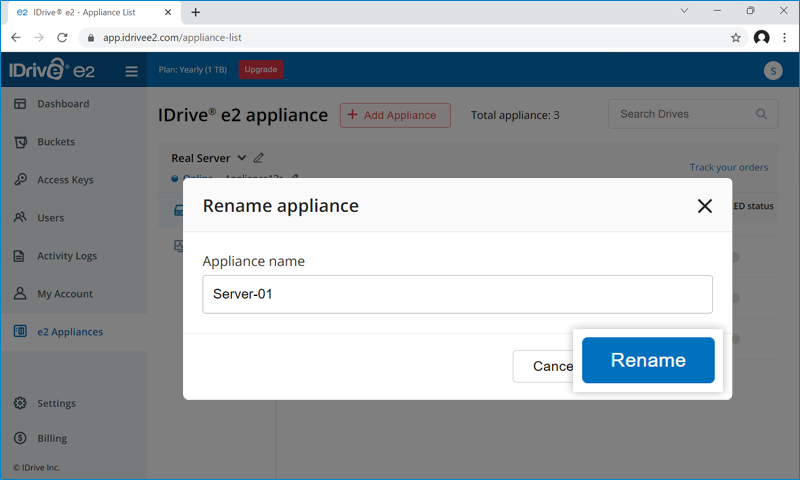
To rename an IDrive® e2 appliance,
- Sign in to IDrive® e2 account via any browser.
- Go to e2 Appliances.
- Select the required appliance from the LHS dropdown at the top.
- Click
 .
.
- Enter a new name for the appliance and click Rename.
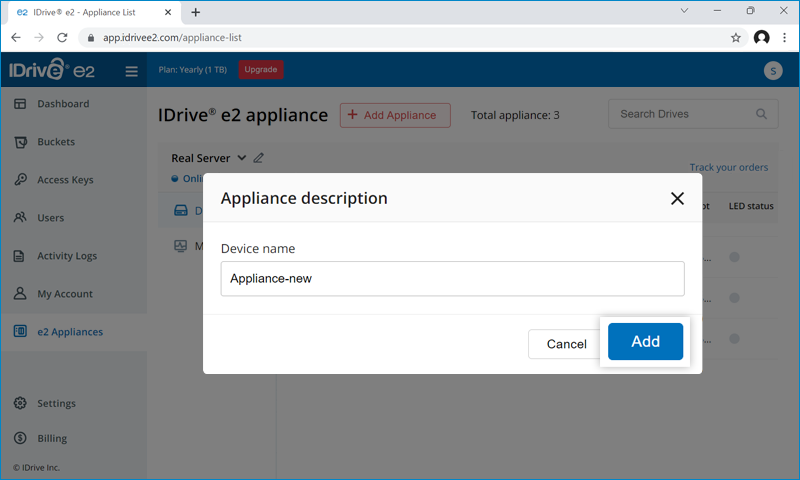
Yes, you can add a description to identify an IDrive® e2 appliance.
- Sign in to IDrive® e2 account via any browser.
- Go to e2 Appliances.
- Select the required appliance from the LHS dropdown at the top.
- Next to the appliance status, click to edit the appliance description.
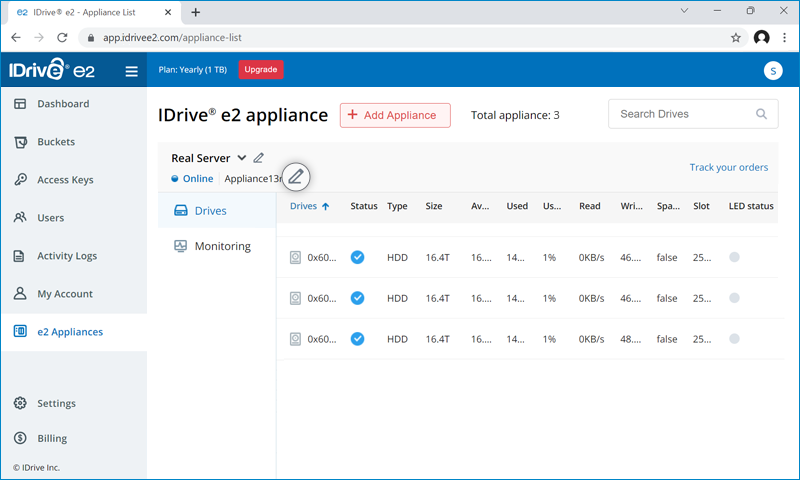
- Enter a description for the appliance and click Add.
You can assign a local IP address to your IDrive® e2 appliance via DHCP.
To assign a local IP,
- Rack-mount and power up the appliance.
- Connect one of the network ports to a local area network that has a DHCP server.
- Once the device has completed the start-up process, the dashboard of the appliance will be displayed automatically along with the device IP. Note down the IP address for future reference.