- Developer Guide
- Endpoints and Access Keys
- Third-Party Tools
- Veeam®
- Veeam® Backup for Microsoft 365
- MSP360
- qBackup
- QNAP
- Synology Hyper Backup
- Cyberduck
- Dell
- Duplicati
- Windows Network Drive
- UpdraftPlus WordPress
- ExpanDrive
- S3 Browser
- Rclone
- Mountain Duck
- NovaBACKUP
- S3FS
- Duplicacy
- SimpleBackups
- Snowflake
- SyncBackPro
- Syncovery
- Synology Cloud Sync
- Retrospect
- ChronoSync
- Transmit
- TrueNAS® CORE
- Nextcloud
- Cloudflare
- WinSCP
- Veritas Backup Exec
- Cloudmounter
- AirLiveDrive
- Vembu BDR Suite
- Arcserve
- Arq Backup
- S3 Drive
- CNAME Record Guide
- S3 API Documentation
S3 Drive
Access any S3 compatible service by mapping it as a local drive using S3 Drive. Integrate IDrive® e2 with S3 Drive by creating S3 Access Keys.
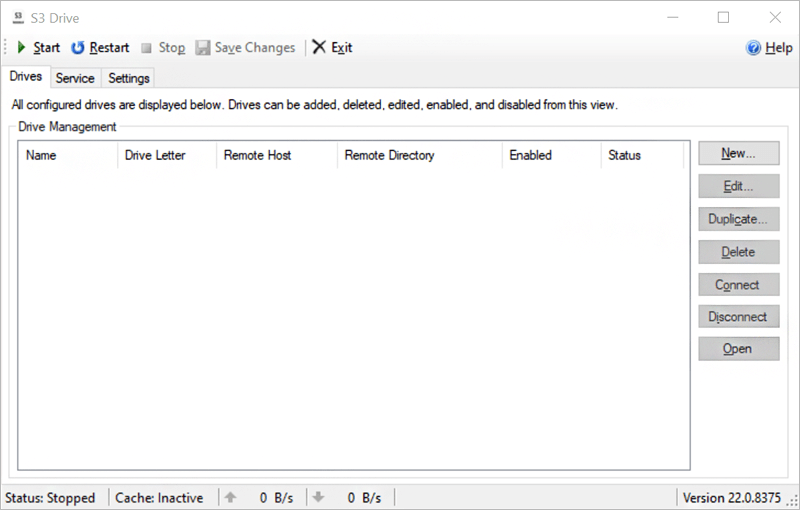
- Download S3 Drive from nsoftware and launch the application.
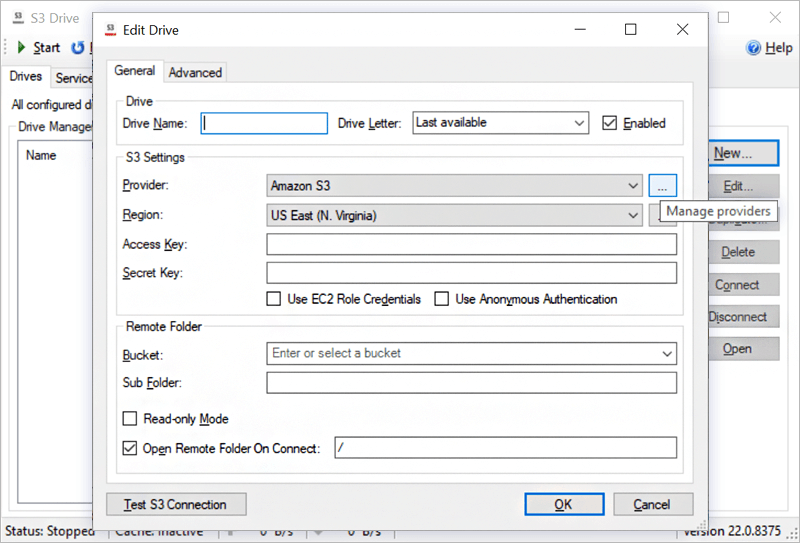
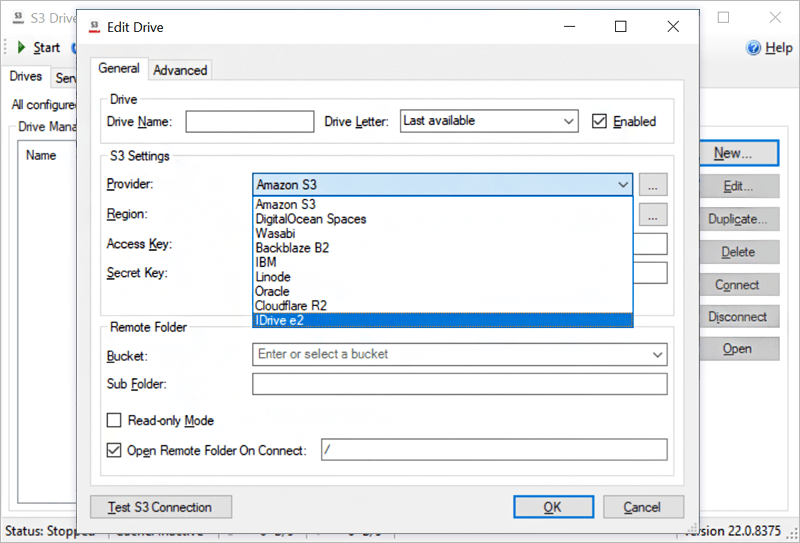
- Click New to open the S3 settings windows. Add IDrive® e2 as the storage provider by clicking
 .
.
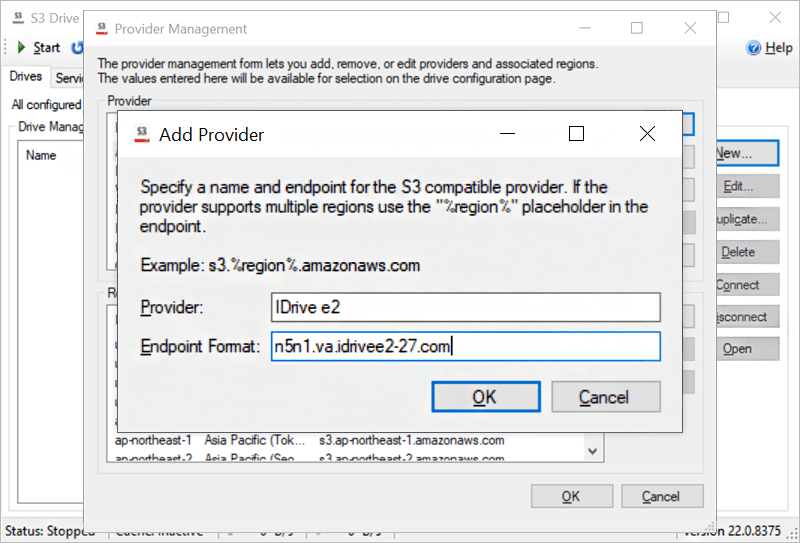
- In the Provider Management pop-up, click New and enter IDrive® e2 as the provider.
- Enable storage endpoint for IDrive® e2 dashboard, copy the e2 storage endpoint URL present beside Endpoint Format, and click OK.
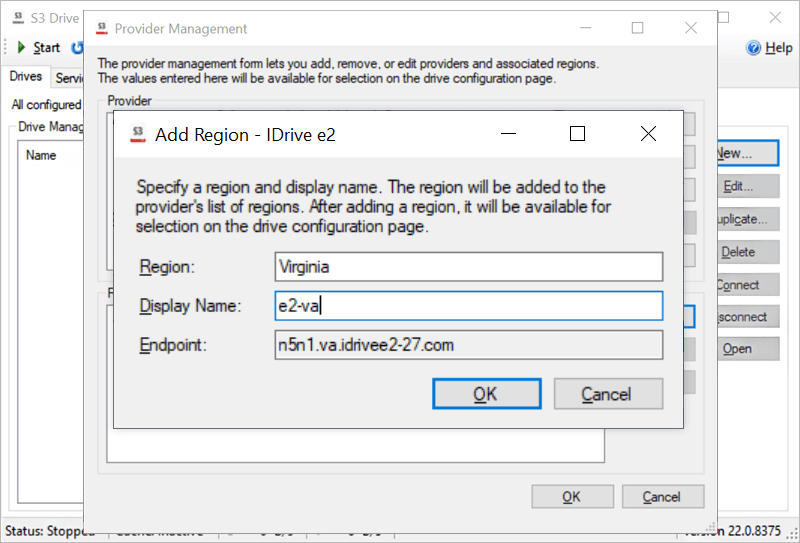
- Click New beside the region for IDrive® e2 provider to add a new region. Enter the region name and display name.
- Under the Provider dropdown, select IDrive® e2. Enter the Access Key, Secret Key, and Bucket Name obtained from your IDrive® e2 account.
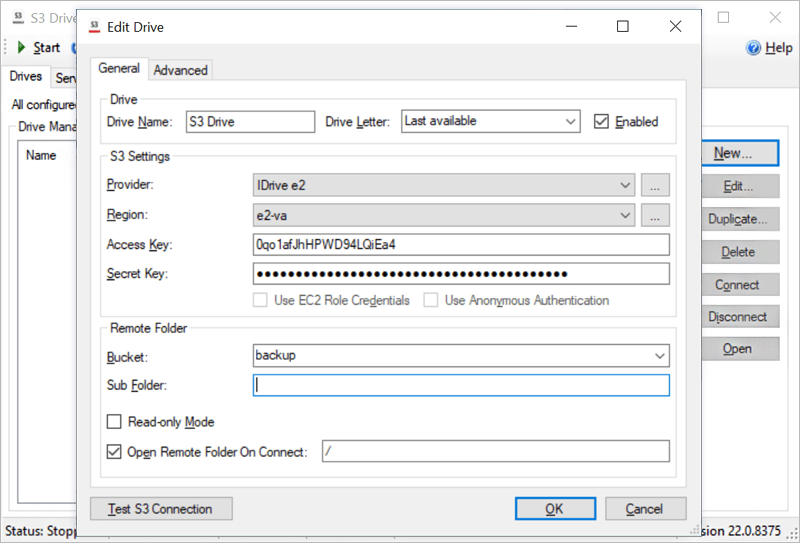
- Click Test S3 Connection and once it is successful, click OK.
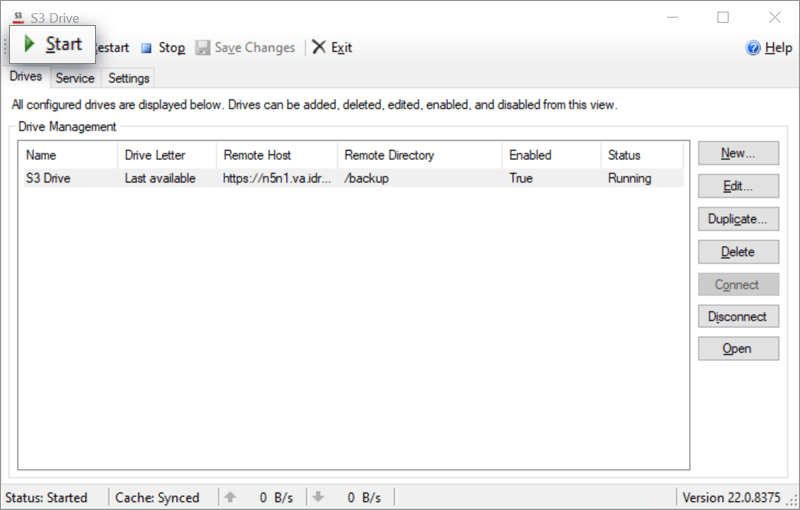
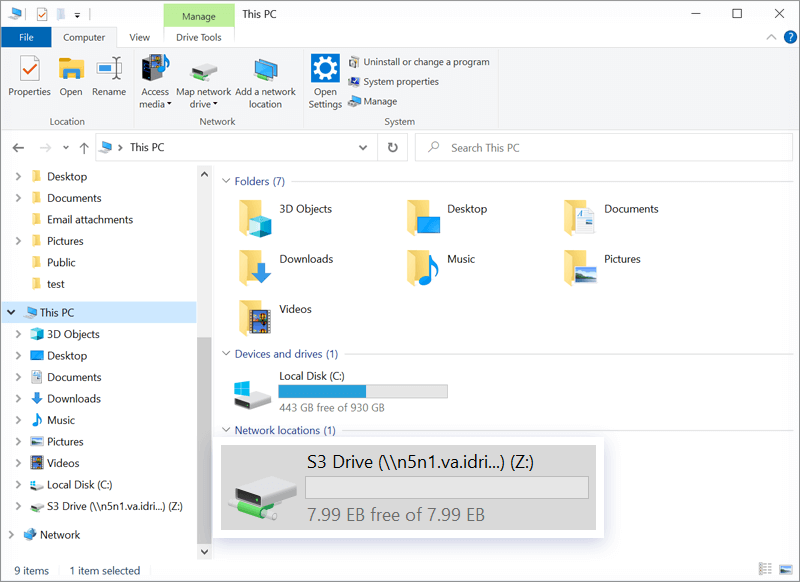
- Click Start to access the S3 Drive in the My computer section.
Note: Data restoration is handled by your specific backup solution provider and is affected by multiple variables that are unique to your environment. For application-related enquiries/support, it is strongly recommended you seek guidance from the technical team of your backup solution provider.